Running the wizard
Introduction
This wizard has been created to facilitate the installation and deployment of the Sandbox Studio solution in your environment. It automates as many steps as possible and checks for prerequisites before the installation.

Prerequisites
The wizard will automatically check for prerequisites. If any of the prerequisites are not met, the wizard will display the URL to the right documentation to help you configure your environment.
Those are the variables you will have to set/confirm during the installation:
| Description | Input or Confirm | Comments | |
| Management Account ID | Account ID of the Management Account of your organisation. | Confirm only | You don't need it per say as the wizard should be executed from this account anyway, but the wizard is going to ask you to confirm the account is the correct management account. |
| Hub Account ID | The AWS Account ID of the "hub" account for the solution. | Input* | Best practice is to have a separate AWS Account to act as the "hub" for SandboxStudio. |
| Organization ID | ID of the AWS organisation used for the installation. | Confirm only | Should be the organisation where the Management Account resides |
|
IAM Identity Center instance
|
ID of the IAM Identity Center Instance | Confirm only | |
|
IAM Identity Center SAML Application
|
Details of the custom IDC application | Confirm / Input | The wizard will ask you to select the custom IdC application if you have already set one up. Otherwise, the script will guide you through the creation of this application. |
|
Application namespace
|
Prefix to add before SandboxStudio resources | Confirm / Input | Default: MySs |
|
Organisation Parent ID
|
ID of the Organisational Unit where you want the Sandbox Studio OUs to be created | Input* |
Default: Root OU We strongly recommend having a dedicated Organisational Unit for Sandbox Studio. |
|
AWS Regions
|
List of regions that Sandbox Studio will manage | Confirm / Input |
Comma separated list of values. Those are the regions monitored and managed by the Sandbox Studio. |
|
Admin Group Name
|
List of the IdC group name from Sandbox Studio administrators | Confirm / Input |
Default: <NAMESPACE>_SsAdminsGroup ie: MySs_SsAdminsGroup |
|
Managers Group Name
|
List of the IdC group name from Sandbox Studio managers | Confirm / Input |
Default: <NAMESPACE>_SsManagersGroup ie: MySs_SsManagersGroup |
|
Users Group Name
|
List of the IdC group name from Sandbox Studio users | Confirm / Input |
Default: <NAMESPACE>_SsUsersGroup ie: MySs_SsUsersGroup |
|
Allowed IP Ranges
|
Comma-separated list of CIDR ranges for API access
|
Confirm / Input |
Default: 0.0.0.0/1,128.0.0.0/1 |
- Input*: Indicates fields that are mandatory for you to fill in.
In case you have not created the SAML custom application yet, the wizard will also prompt you for the following:
| Description | Input or Confirm | Comments | |
| Application name | Name of the custom SAML application to be created | Confirm / Input | Default: Sandbox Studio |
| Application Description | Description of the custom SAML application to be created | Confirm / Input | Default:
Sandbox Studio allows users to access temporary AWS accounts
|
Installation
Login to your AWS Management account and open a CloudShell environment in the region where you want to install Sandbox Studio. Then, run the following commands:
wget https://sandbox-studio-software-dist.s3.us-east-1.amazonaws.com/versions/1.0.0/install_sandbox_studio.sh
chmod +x install_sandbox_studio.sh
./install_sandbox_studio.sh
The following should display:
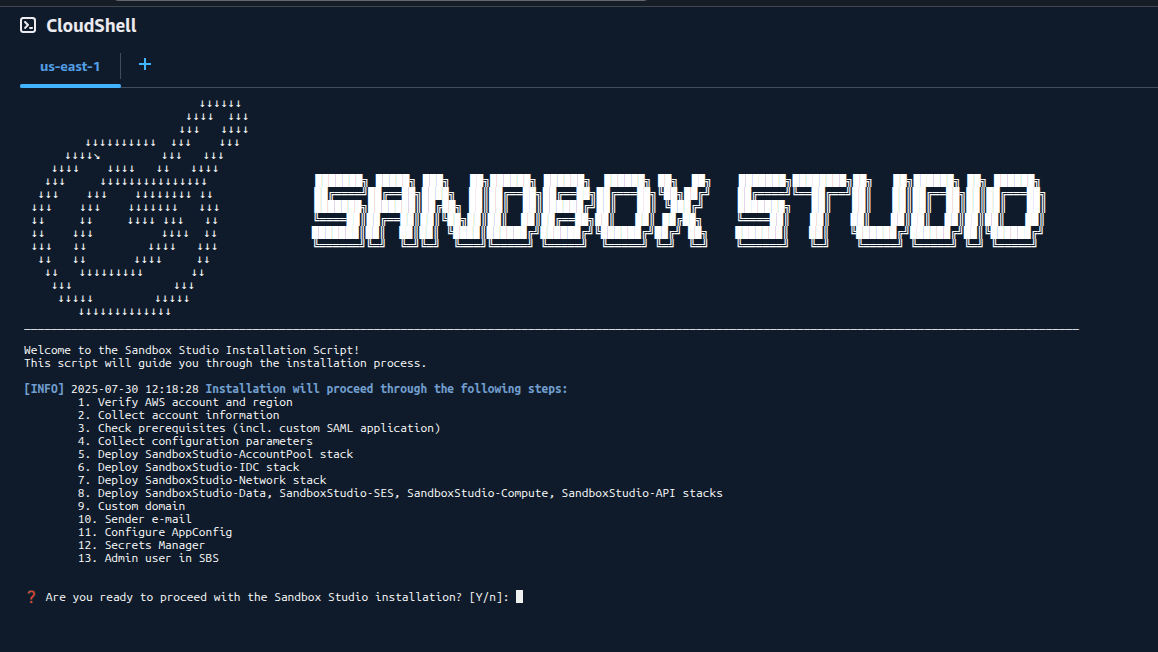
The wizard will guide you through the installation. Enjoy !
No comments to display
No comments to display