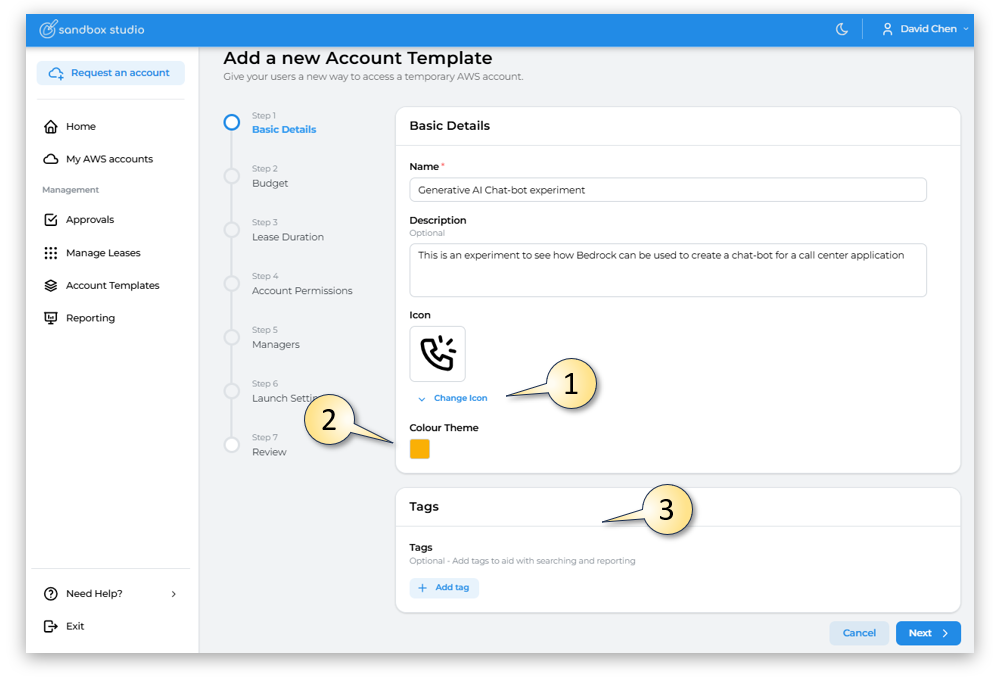
Basic Details
Step 1: Basic Details
On the Add a new Account Template page, complete the required fields in the Basic Details section.
-
For Name, enter a descriptive name for your lease template so that you can easily keep track of it.
-
(Optional) For the description, specify the intended purpose of the account type.
- Click on Change Icon if you want to change the icon associated with your template.
- Click on the Colour Theme selector to choose the colour of the icon and template theme.
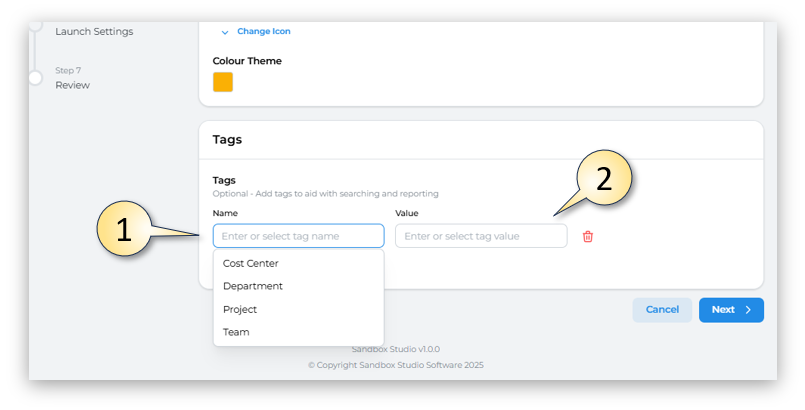
- Lastly you have the option to add Tags, let's look at that in more detail below.
Tagging accounts with parameters like "Department Name = Engineering" or "Cost Centre = M004" would enable users to gain granular insights into their AWS Sandbox Studio usage. This would allow for precise cost allocation and chargebacks to specific teams or projects, providing a clear understanding of spending patterns and resource consumption. It also facilitates better resource governance and optimization by identifying areas of high expenditure or underutilized resources, leading to improved cost efficiency.
It is possible to add as many tags as needed to help you filter accounts as required. In the example below you can see 3 different tags
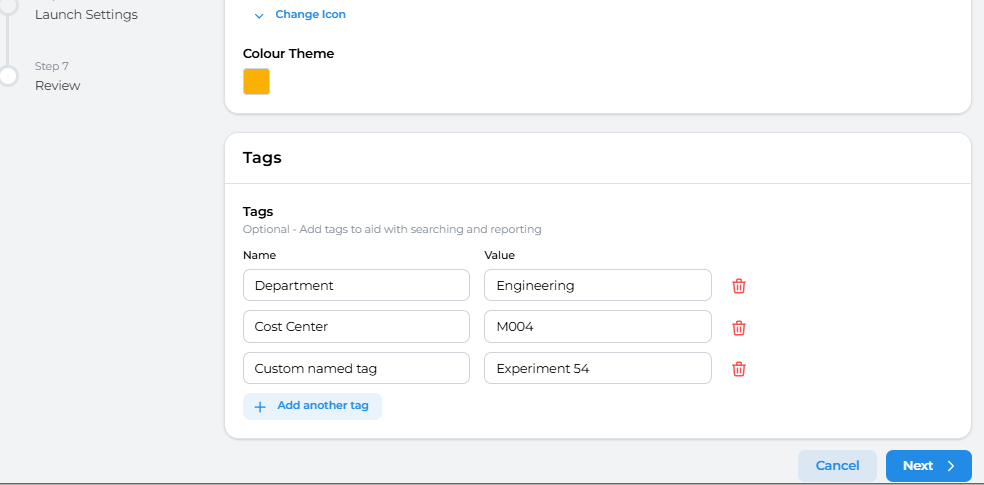
Having completed all the fields on the Basic Details page as needed, click on Next to move to section 2 - Budget.
No comments to display
No comments to display